
The following highlights few steps to ensure that internal links created by InLinks in a specific project are correctly added into the content of a page:
Step 1: Verifying if the JS code is added to a page
Each page added to an InLinks project needs to have the project’s Javascript code installed (check this tutorial on how to install the JS code), to verify is the JS code is installed on a page you can do a Right-click > Inspect > Ctrl + F and do a search for ‘jscloud‘:

Step 2: Localize the internal links on a page
Once you’ve ensured the JS code is installed, you can go back to your InLinks project and check the internal links that are created ‘OUT‘ from a page:
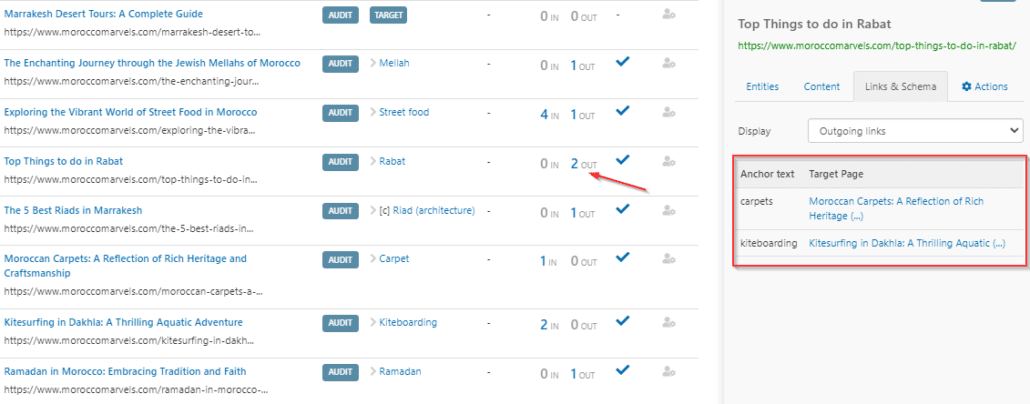
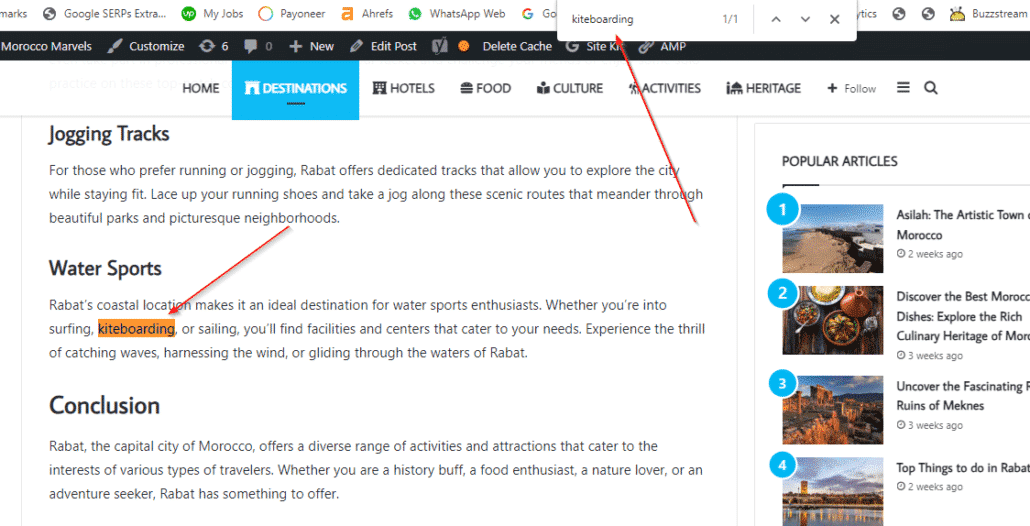
Copy one of the anchor texts and open the page on your browser, then do a CTRL + F and paste the anchor text:
Step 3: Double check if the link is created by InLinks
Do a Right-Click on the internal link and then ‘Inspect‘, you should see that the code on the ‘Elements‘ part begins with:
<a class=”inlinks”
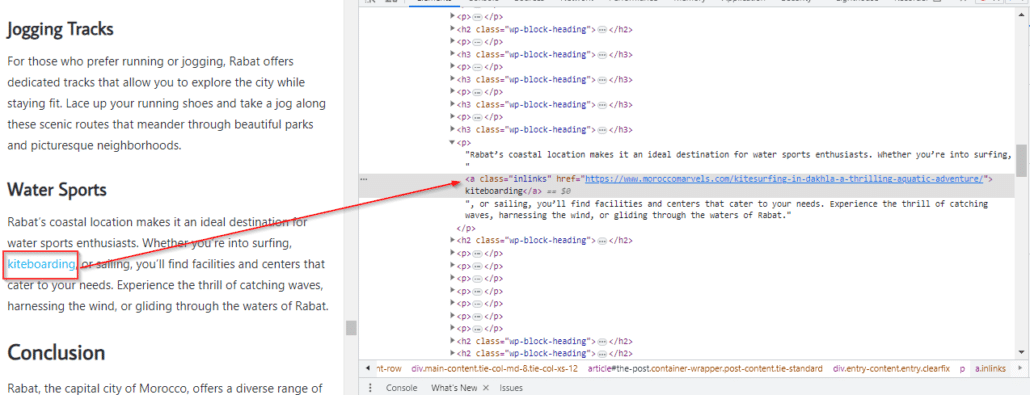
The above verification method applies to any internal link created by InLinks, if you still encounter any issues with verifying internal links on your website please get in touch with our support team via the chat window.

Leave a Reply
Want to join the discussion?Feel free to contribute!